In today’s tech-savvy world, switching from an Android device to an iPhone is not an uncommon occurrence. Whether you’re enticed by the sleek design of the latest iPhone or simply looking to explore a new ecosystem, making the transition can seem daunting, especially when it comes to transferring all your precious data. But fear not! In this guide, we’ll walk you through the process of transferring your contacts, photos, apps, and more from your trusty Android device to your shiny new iPhone, ensuring a seamless transition without losing any of your valuable information.
Understanding the Basics
Before we delve into the nitty-gritty of data transfer, let’s first understand the fundamental differences between Android and iOS devices. Android, developed by Google, and iOS, developed by Apple, operate on distinct platforms with their own set of features and functionalities. While both systems offer robust performance, they have unique ecosystems that require a specific approach when it comes to data migration.
Step 1: Backing Up Your Data
The first and most crucial step in transferring your data is to ensure that all your important information is safely backed up. For Android users, Google provides a convenient backup solution through Google Drive. Simply navigate to your device’s settings, select “Backup & reset,” and enable the backup option. This will automatically sync your contacts, photos, app data, and settings to your Google account.
Step 2: Setting Up Your New iPhone
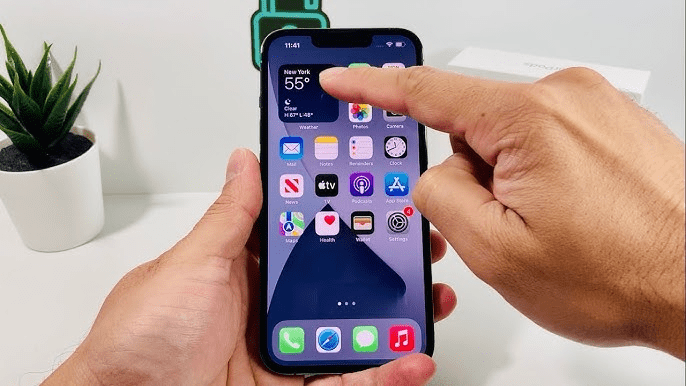
Once you’ve backed up your data on your Android device, it’s time to set up your new iPhone. Power on your iPhone and follow the on-screen instructions until you reach the “Apps & Data” screen. Here, select the “Move Data from Android” option and proceed to the next step.
Step 3: Downloading the Move to iOS App
To facilitate the transfer process, Apple has developed the Move to iOS app, available for download on the Google Play Store. Install the app on your Android device and open it to begin the transfer process.
Step 4: Transferring Your Data
With both your Android device and iPhone ready, follow these simple steps to transfer your data:
- Open the Move to iOS app on your Android device and tap “Continue.”
- Agree to the terms and conditions and tap “Next” in the top-right corner of the Find Your Code screen.
- On your iPhone, tap “Move Data from Android” when prompted during the setup process.
- Enter the code displayed on your iPhone into the Move to iOS app on your Android device.
- Select the data you want to transfer, such as contacts, messages, photos, videos, and more.
- Wait for the transfer to complete. The time taken will depend on the amount of data being transferred.
- Once the transfer is complete, follow the on-screen instructions to finish setting up your iPhone.
Step 5: Verifying Your Data
After the transfer process is complete, it’s essential to verify that all your data has been successfully transferred to your new iPhone. Double-check your contacts, messages, photos, and apps to ensure nothing is missing. If you encounter any discrepancies, you can manually transfer the remaining data using alternative methods such as iCloud or third-party apps.
Additional Tips for a Smooth Transition
-
- Sync Your Accounts: Make sure to sync your email, calendar, and other accounts to your new iPhone to ensure seamless access to your information.
-
- Redownload Apps: While your app data may transfer automatically, you’ll need to redownload your apps from the App Store on your iPhone.
-
- Explore iCloud: Take advantage of Apple’s iCloud services to keep your data synced across all your devices effortlessly.
Conclusion
Making the switch from Android to iPhone doesn’t have to be a daunting task. With the right preparation and guidance, you can transfer all your data seamlessly, ensuring a smooth transition to your new device. By following the steps outlined in this guide and leveraging the Move to iOS app, you’ll be enjoying your new iPhone in no time, without missing a beat. Happy switching!


